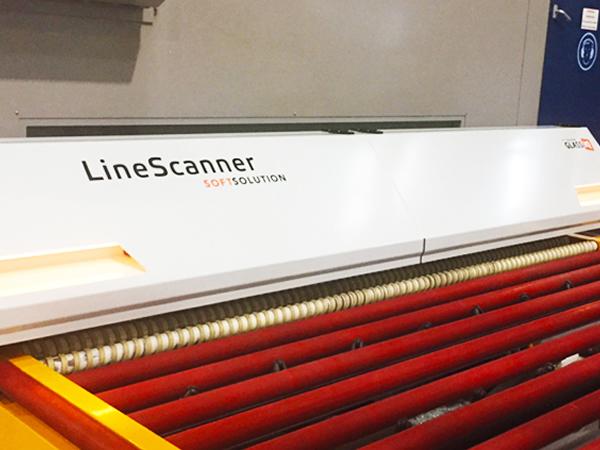
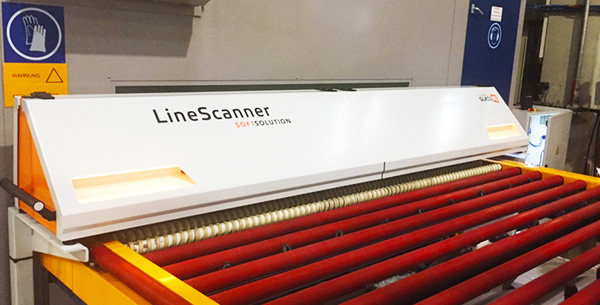
For the use of the LineScanner on a tempering furnace – which is now also able to check anisotropy and edge stress in addition to geometry, surface quality, edge quality and also DMC codes - we have created a real masterpiece in regards to a visual, non-destructive tempering quality check.
Available LineScanner checks on a tempering furnace:
- Anisotropy / Isotropy
- Edge stress
- Surface quality
- Edge quality in the visible range
- Dimension check of overall size, cut outs, drill hole position and diameter
- DMC check
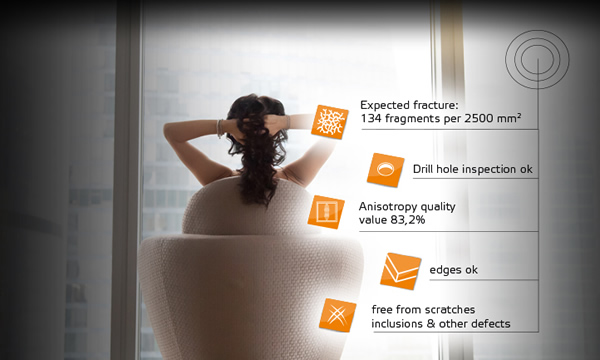
Isotropy / Anisotropy proportion
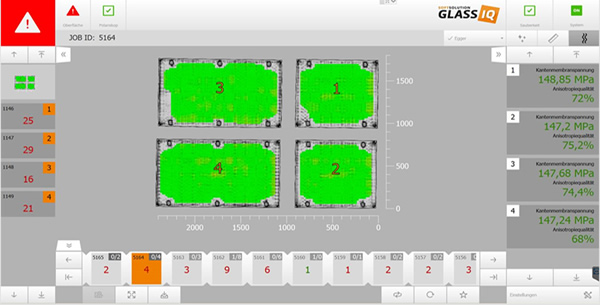
To get an exact measurement of the distribution of tensions as well as the quality value for each pane, every pixel with a size of 0,12 x 0,12 mm is being measured.
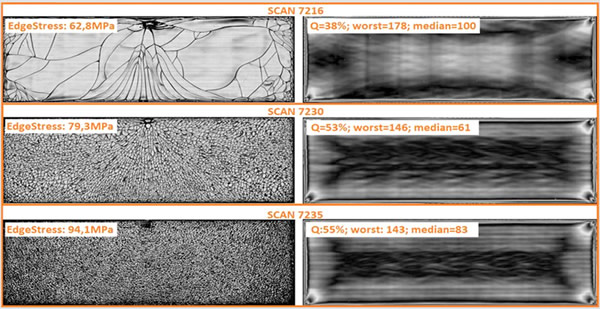
In collaboration with the Rheinisch-Westfälischen institute of technology Aachen – Ms. Dr eng. Ruth Kasper, Prof Dr eng. Markus Feldmann, Pietro die Biase and Benjamin Schaf – as well as the colleagues from the institute of technology Munich – Prof Dr eng. Christian Schuler and Steffen Dix – mathematical structures and the necessary technical basics have been initially acquired and developed. The result is an exact determination of the isotropic and anisotropic areas of a tempered lite together with a final quality result.
For a professional and comprehensive definition of the quality, it is also important to measure the edge stress along all edges of a specific lite.
By doing so, the LineScanner determines the edge stress levels and provides a precise result regarding the expected fragmentation pattern.
Only this unique and telecentric, provided by the Softsolution LineScanner, can offer a solution that includes every combination of quality check possible all within a single quality inspection system.


 You are not logged in, please sign in to view contact
 Info release
 Promotion
 Building shop
 Online business